Web Interface
Step by Step Instructions for setting up the OpenHab2 Server
Directions
Openhab is a great platform and there are many things you can do on it but something new that happened is in openHAB 2 they introduced the OpenHAB web ui where you can see all the different user interfaces.
To access the web user interface, open up your web browser and type in your pi’s ip address with :8080 on the end. If you have chosen to use the recommended address then type in 192.168.1.100:8080.
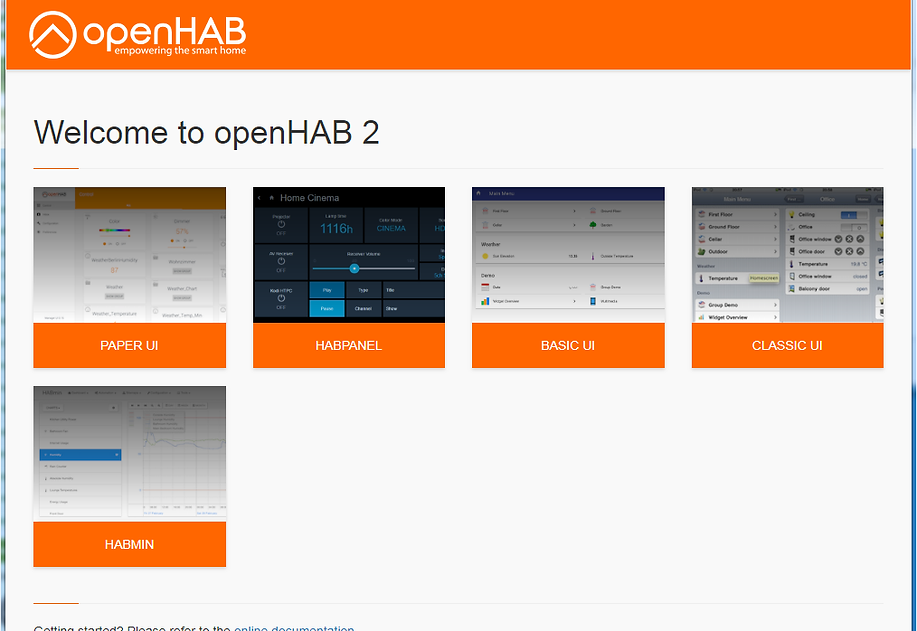
You should now see a page with some small boxes and a message that says Welcome to openHAB 2. (See Picture below)
First up is the basic ui this is the user interface that we will create later when we talk about the OpenHAB configuration files. Next up is paper ui and this is the administrative web user interface. The first tab on the left side is control and here we would be able to control devices that we have connected. Then we have inbox, this is where the system would search for devices when you have bindings installed I will show you this more in the future when we add devices. After that is configuration which has sub tabs starting with system where you can change a few things in OpenHAB I usually do not touch anything here. In the bindings sub tab it would show you all the bindings you have installed that are version 2.0, currently.
The services sub tab is like bindings expect instead of showing you all your bindings it shows services. We will configure Basic Ui and Classic Ui in the next section and the HABPannel will be configured much later on. If you look up top there is a voice tab but I don’t use that. Next sub tab is things and in here it would show all the devices or things you have connected for example later on we might have a belkin wemo light switch or a Panasonic smart tv.
Then the final sub tab is the items sub tab where you connect the things to items to provide individual data, for example a thing could be a light switch and two items for the light switch would be its state as well as turn it on or off. The Next tab is the Add-ons tab and in here we have many add ons or pieces of software so we can connect devices, in last video when we were setting up the server we installed the mqtt binding but there are so many more, have a look for yourself. But there are not just bindings there are also different user interfaces you can install, persistence, actions, transformations, voice and other miscellaneous things.
The final tab on the right is the preferences tab and here you just select your language. The next user interface is the Rest Api and this is where you can do http stuff, personally I don't use this. Then we have classic Ui which is the same thing as basic Ui it just looks different.